|
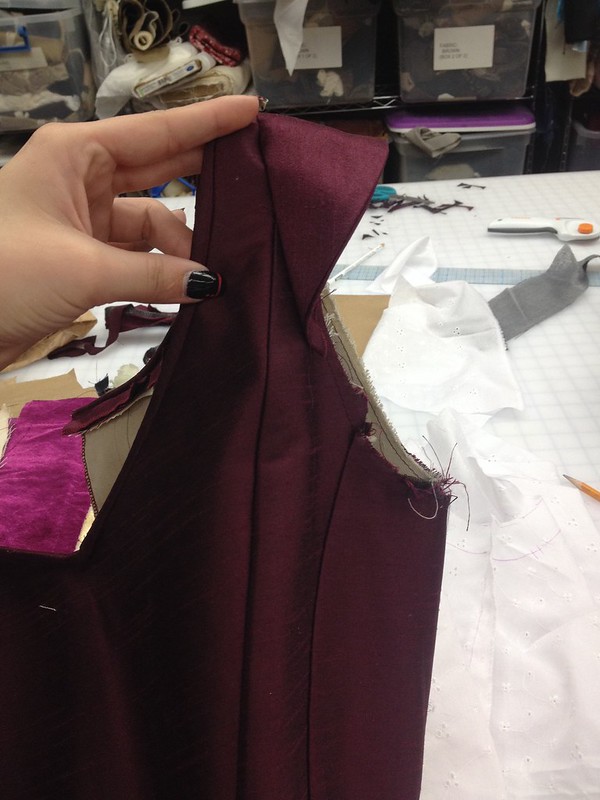
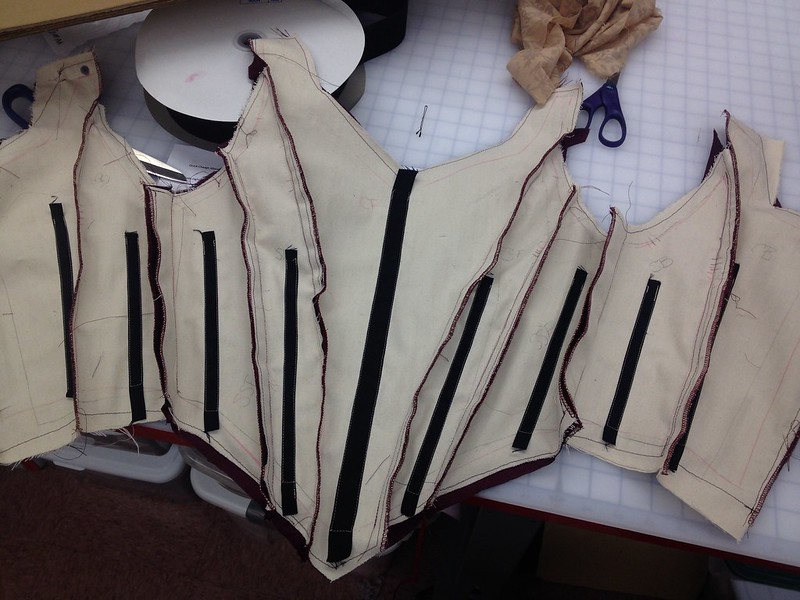
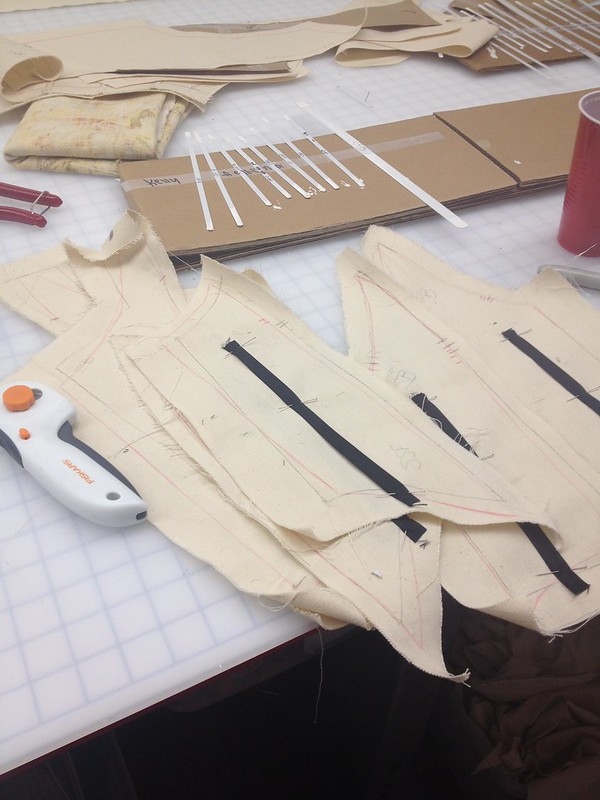
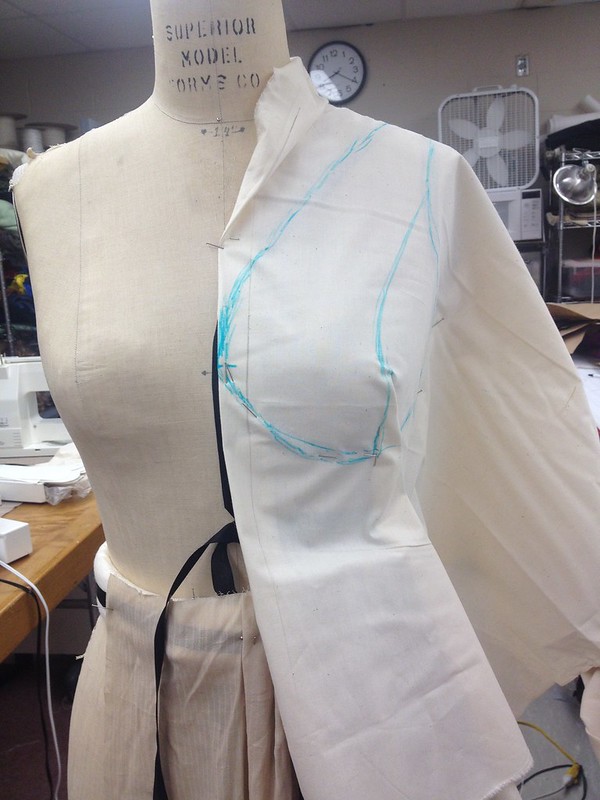
You can barely see
the markings |
 |
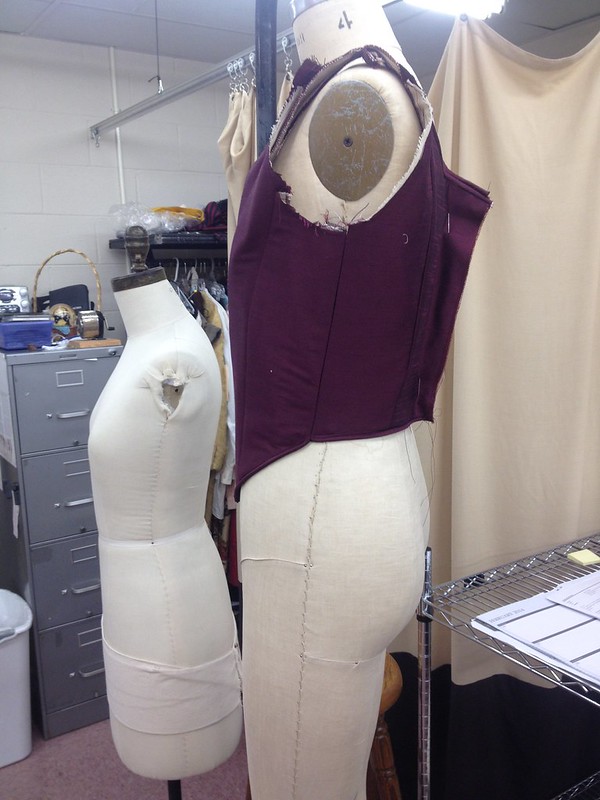
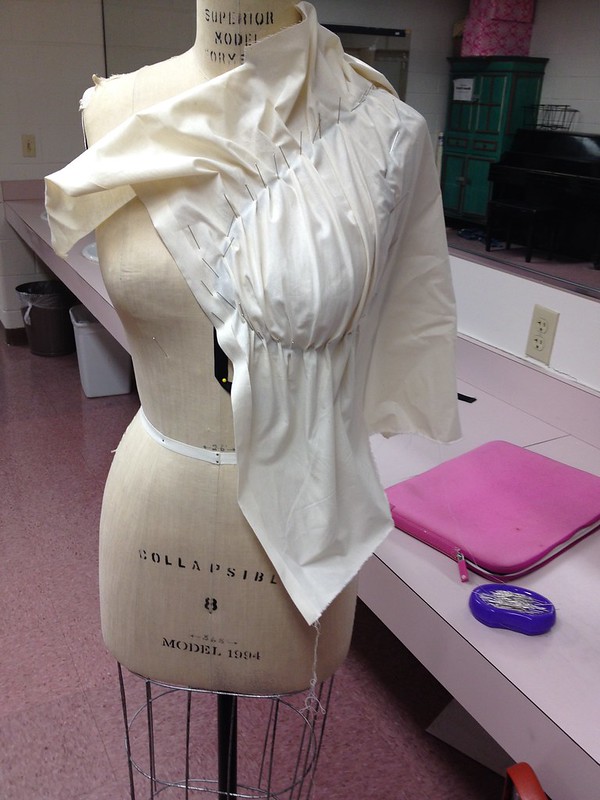
| Epaulette! |
You miss daylight completely, or and you get a lot done. I started off the day working as an intern for a
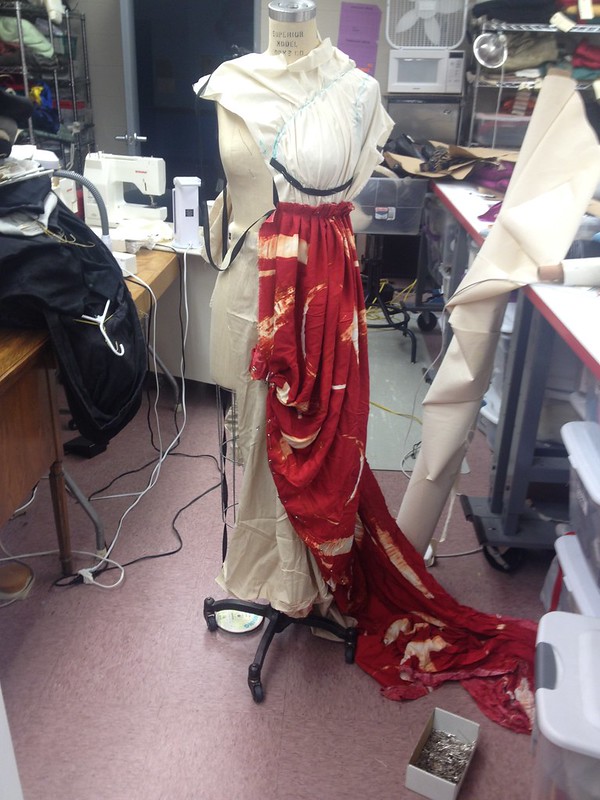
few hours which meant I got to continue on that bodice for The Rover. It now has sleeves and little epaulets attached. It's done for now until the next fitting, then we can add the little tabs to the sleeves. I basically spent a good chunk of time tracing and trying to find a marking tool that would appear on the interfacing fused onto the fabric. I found that you can see yellow tailors chalk really well, but when I ironed it went away so then I proceed to tried like 4 other things, yellow wax pencil, white wax pencil, white tailors chalk and finally just settled on the pink water soluble marker, it was the easiest. I put everything together, the sleeves are out of a very nice white eyelet fabric, It looks very nice with the wine colour.
 |
| Bodice with sleeves and epaulettes |
After that was all put together I took a quick break to eat food, that was the only time beside 10:30am that I saw daylight. When I got back I went to work on my project, I was looking over the schedule in the syllabus and was pleasantly surprised when I realised I am already a week ahead of schedule. This week I'm suppose to be working on but the Male mock together, when I'm actually finished and starting on the female. I also was laughing because did his Howard, I'm gonna use the wrong word thing. It say that I should "start
switching fabric", it took me a second to figure out what that mean, he means I should start swatching fabric. Oh, Howard.
The only thing I had left to do on the male mock up was just put the sleeves on the coat, and make a collar. That took like 30 minutes, I already had to sleeve cut out. But, the collar was a little tricky to get the right shape, its not the best picture of the collar in the render. What I realise is that lapel shape needs to be changed and once I did that the collar looked in place. Now that male is done until we get Zach in to fit him, and then it will all have to come apart again to make adjustments to each pattern piece before we cut out the real fabric.
 |
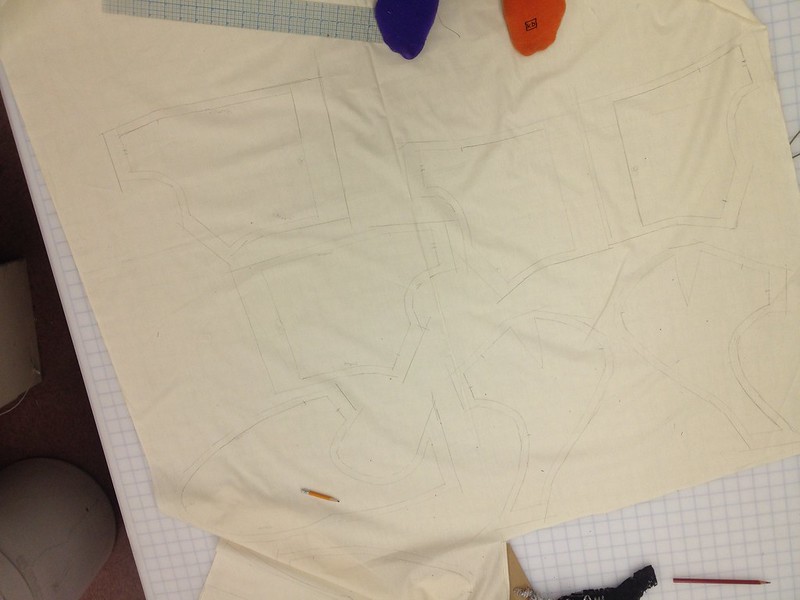
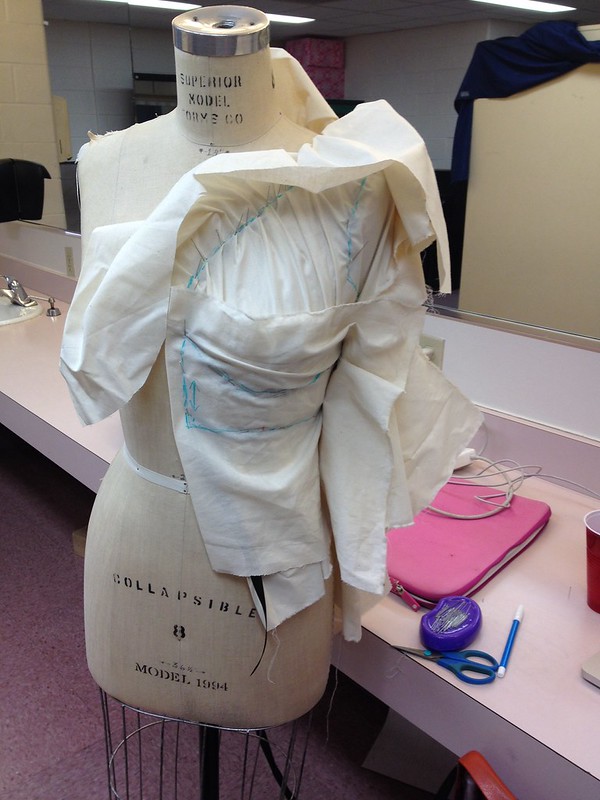
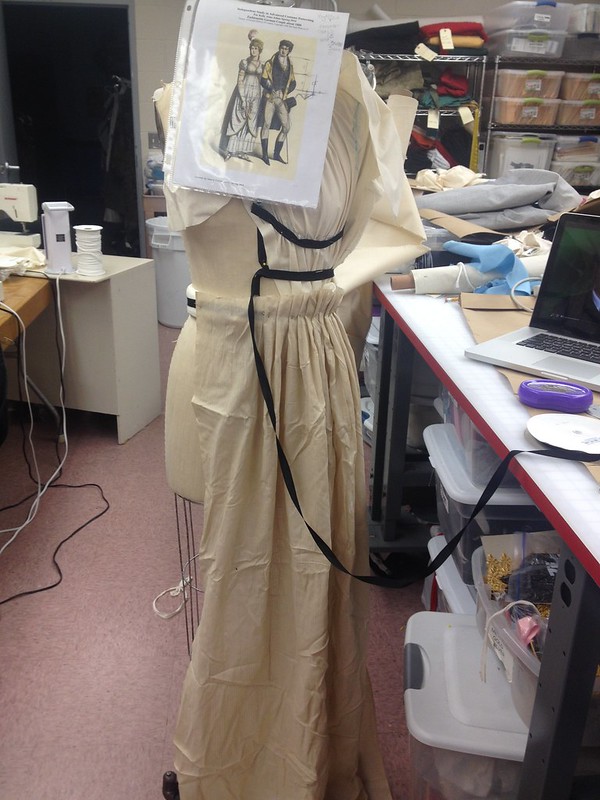
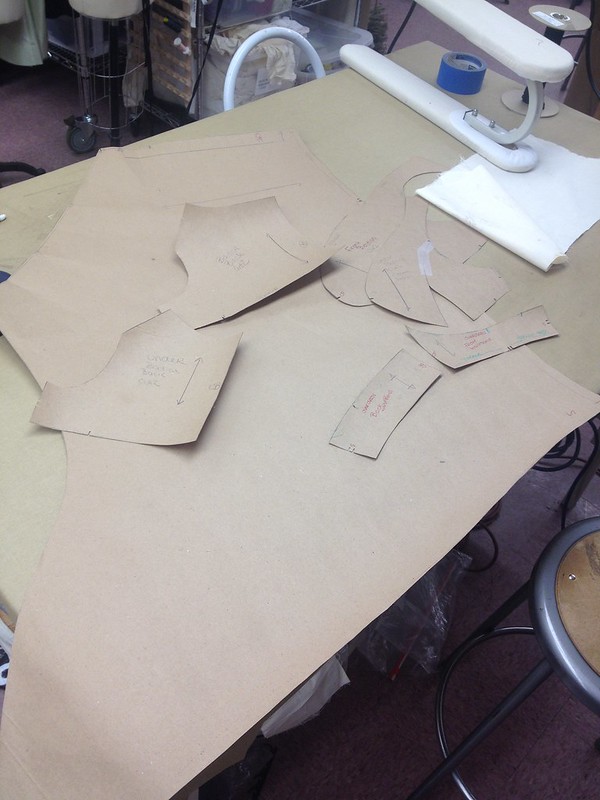
| Bodice pieces all traced |
I move on to start cutting out the female, I have all here pieces into paper patterns now. There all a weird looking, thats what happens when you drape, thinks aren't as straight and "normal" looking as when you flat pattern. I was able to get everything cut out, Howard wanted me to test the front skirt first before I cut to out. It a shape that you wouldn't expect the skirt to be, so I cut on out to test and it still works the way I originally draped it to. I then proceed to cut two out, I didn't feel like cutting the underskirt or the back of the overskirt out yet since those are really easy and I know there going to work. So I decided to start to put together the front bodice and over skirt to make sure the piece all fit together. At the point how came singing into the shop, he is also slowly trying to convince me to wear the girls costume to graduation in May, which is just really funny.
He keeps saying how he wished we could have started doing these years ago with me, which if I knew actually what I wanted to go into 3 years ago I totally would have. I think I had an idea of where want to go after college better then most people, I've always know I want to go into theater and work in costumes. Which is pretty specific, I took me till this year to realise I want to go into theater and work in costumes and work in the construction and management end, which is super specific. It was nice to hear him say the this by doing this and having these skills I'll get more jobs, which is what I've know along, but it was nice to hear a professor say your good enough to be employable, especially in theater.
 |
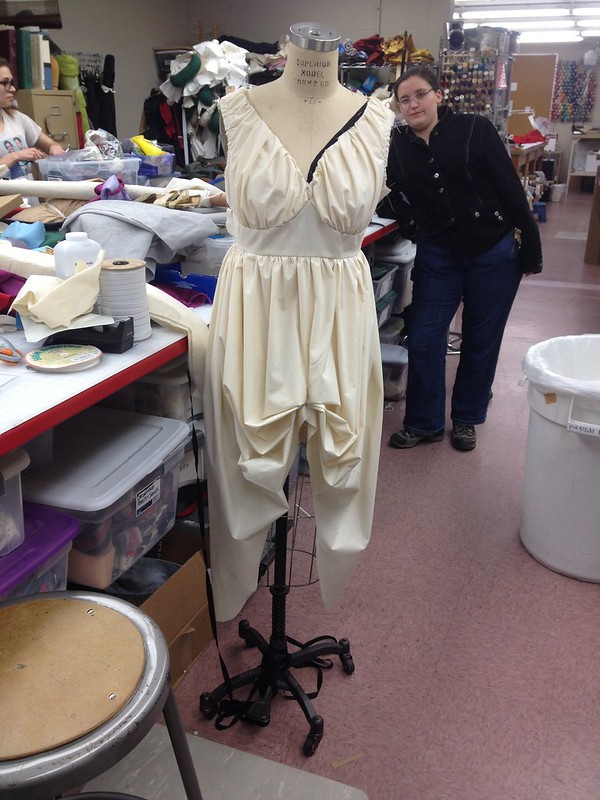
| Hi Mary! |
 |
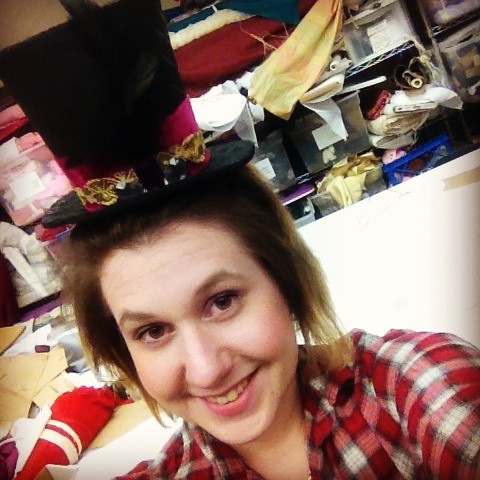
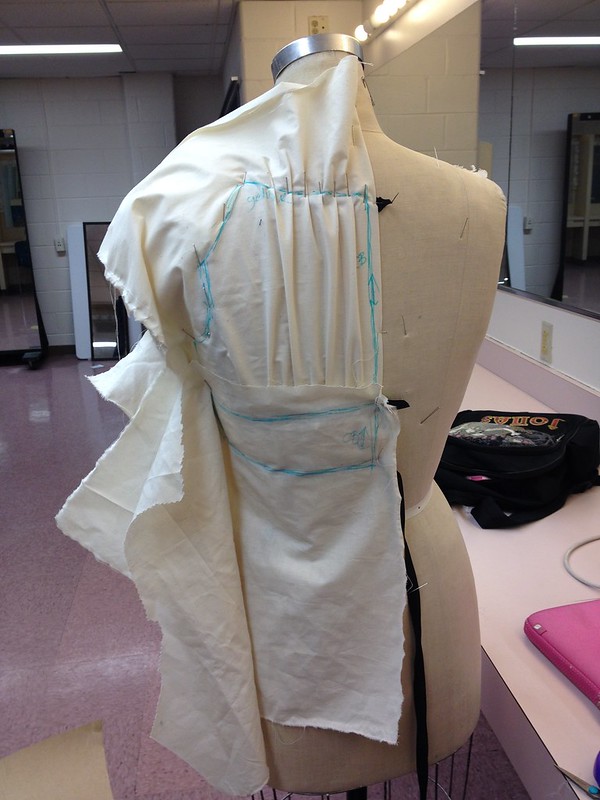
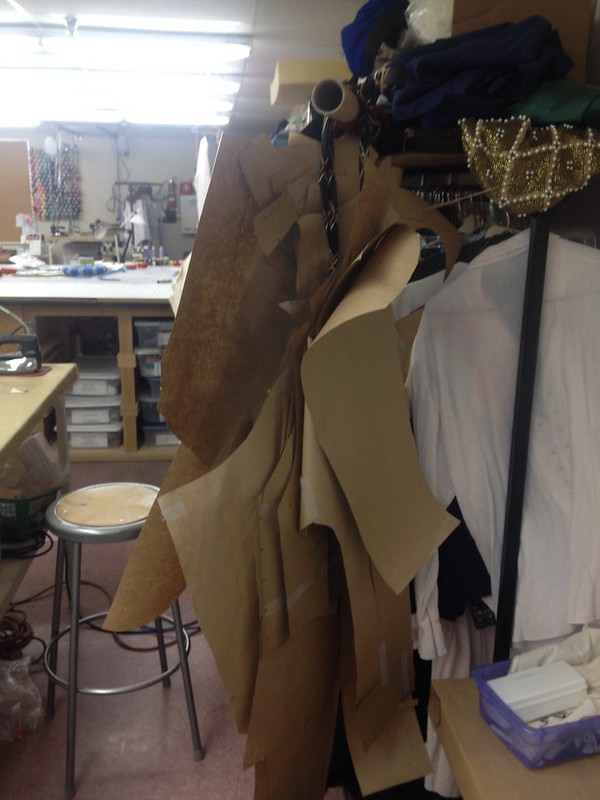
| TOP HAT TIME! |
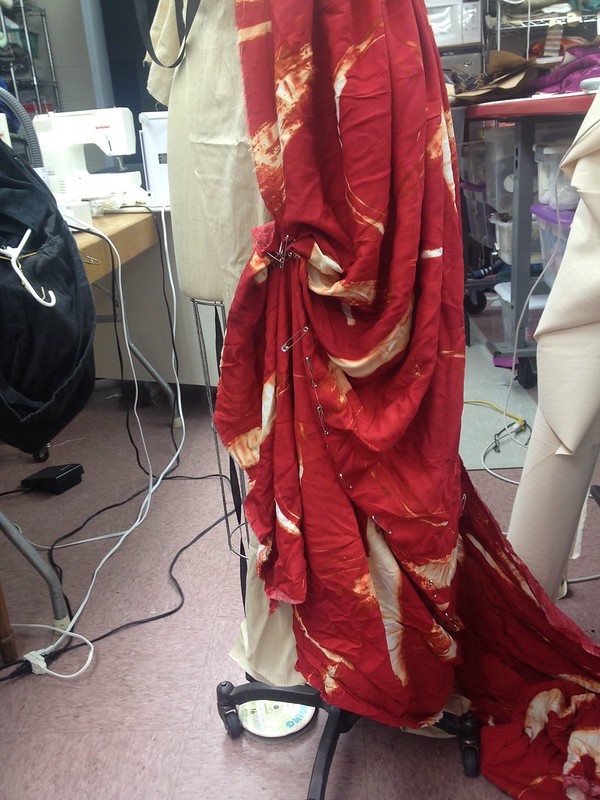
After that all happened I start to but gathering stitches around my whole bodice, the whole thing is gathered around. I then sorta flatlinned it to and under little bra piece I made that give the garment its shaped. After all that gathering I'm really starting to like tailoring more and corset making, you get sick of gather after a while. After all the gathering and one it was flatlined to the under bodice, I attached to the waist band. I then went on to the skirt, I decide to put pleats in the skirt where its all gather at the hem. Before I put the CF together I had to put those pleats in, those are what gives the hem that unique shape. Once all that was done it was time for more gathering stitches, I put those along the waist line where they needed to be. There are two different amounts of gathering on the skirt so I had to make sure I had less gathering at the CF and more towards the sides. Then it was time to attach the skirt to the waist band. And then I had the whole front half of the girl done, oh did I mention I did all this while wear one of the mini top hats I made for
The Merchant, I look adorable. Tomorrow if I get time I think I'm gonna either do the under skirt or the back.
 |
| My lovely German Couple |